For most amateurs and professional woodworkers alike, this fundamental task is one of the first things we learn. From a simple cutting board or coffee table, gluing boards together is often the beginning of a project. I’ve decided to describe my methods because although the topic is indeed basic and countless how-to articles exist, everyone has their ways and perhaps I have a little something to add. Now, there’s a thousand and one ways to do something, and it’s true. My method works well for me, it’s fast and efficient, and it just might work for you.
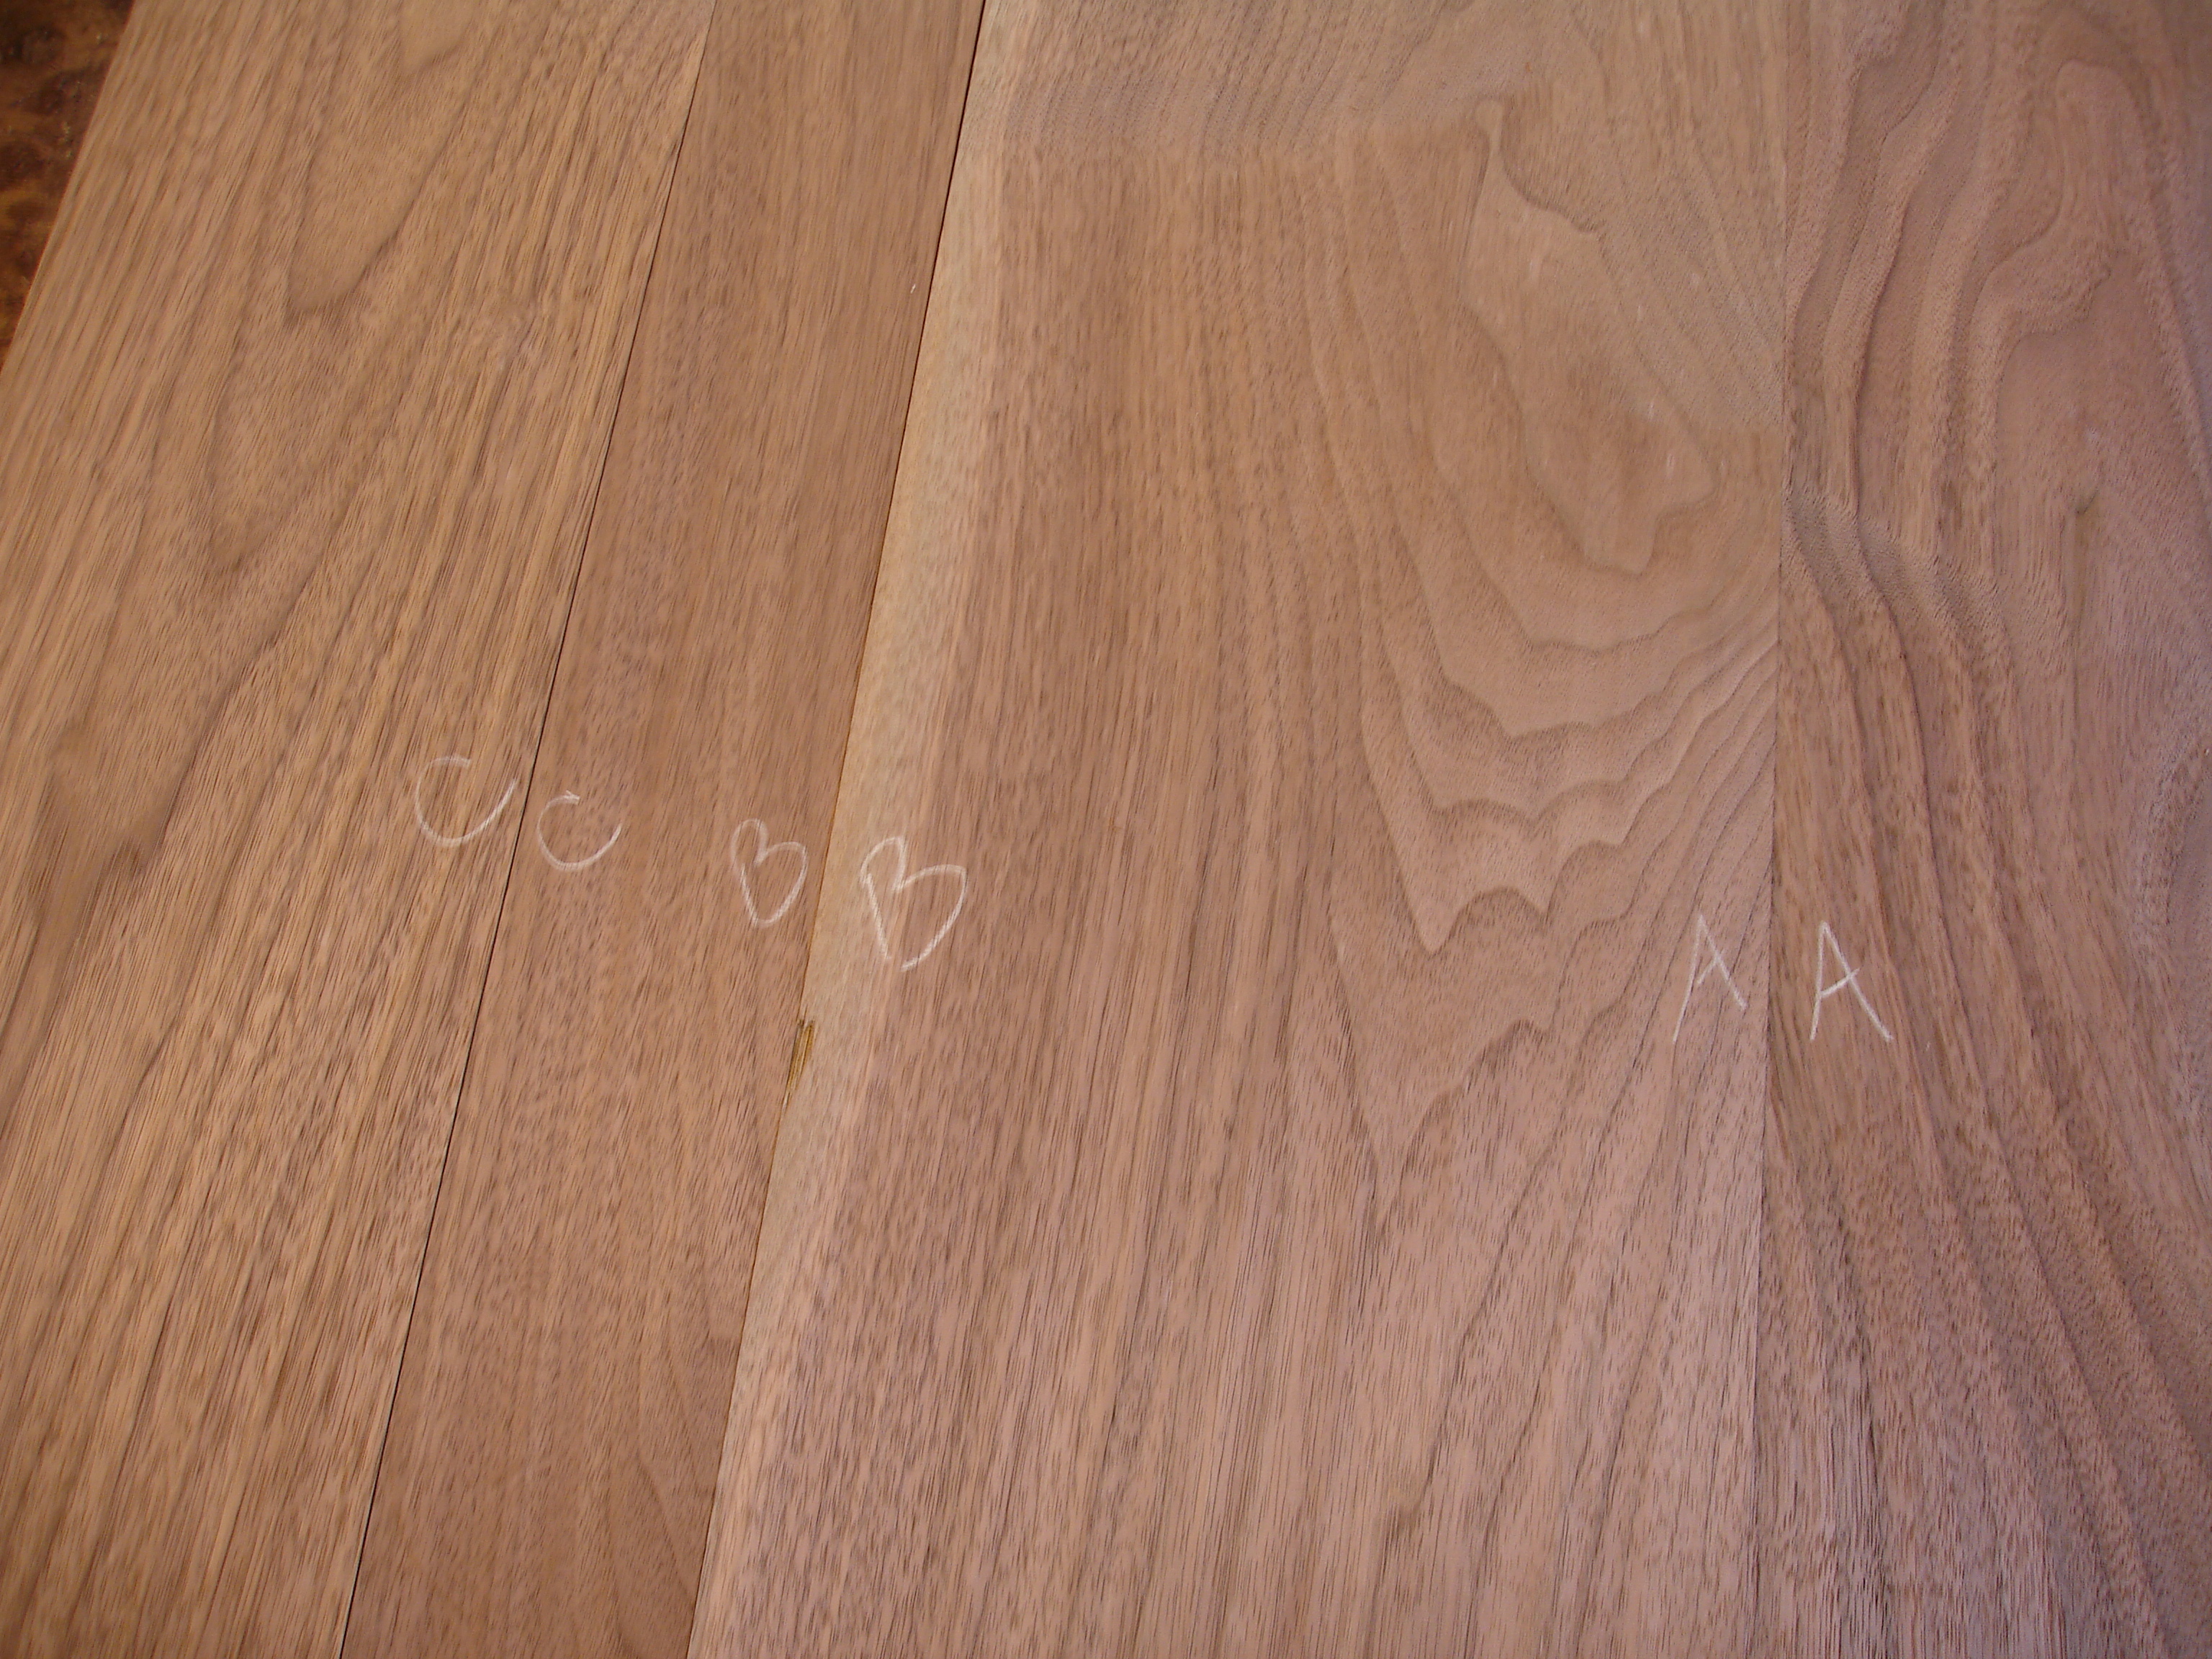
I start at the jointer, which needs to be tuned up in order to actually make boards flat. Buy a machinists straightedge (mine is 38″ aluminum- from LeeValley) and some feeler gauges. Take the time to get it set up right. Face joint the boards to remove any twist and make one side flat, then joint an edge. Rip the other edge parallel and thickness plane to create flat, square stock. Arrange the boards to your liking (sap to sap, heart to heart, pith side same face, if possible) and letter A, B, C, etc across the joints.
Now head back to the jointer to finesse the edges for gluing. I take a light cut and move slowly, keeping steady pressure against the fence. When I’m almost in the middle of the board, I subtly increase pressure over the cutterhead and then shift that pressure to the outfeed table through the cut. Mating edges have opposing sides toward the fence-if one board has the letter A toward the fence, its mate will have the letter A facing away. When I finish an edge, I gently and slowly run my finger down the full length of the board-it’s amazing how tuned our sense of touch can be. This lets me discover any snipe or bobble that exists. Be kind to those crisp corners now, no dings allowed! Put two boards together-they will make a sweet click if the fit is good. The fit needs to be absolutely perfect. Light should not be visible between two edges stacked together. That being said, I usually prefer my joints to be very slightly sprung (open) in the middle, especially when more than four feet in length. With the board clamped at the bench, I use a sharp jack plane set for a whisper thin cut and take a short pass in the middle, then a longer pass, avoiding the ends of the board completely. I’m talking about less than a 64th on a six foot board. With edges prepared, I am ready to glue.
These days I find that I use Titebond III for virtually everything. It’s waterproof, has longer open time, and doesn’t dull tools when cured. I love the stuff. As for clamps, I prefer 3/4″ pony pipe clamps for this task, and always with black pipe. Some people use galvanized pipe because they worry about black pipe staining boards when pipe, glue, and wood come into contact. I don’t ever allow the pipes to contact the wood, so this isn’t a problem. Galvanized pipe, however, will let the clamps creep, which is counterproductive, especially when glue is setting fast and things start taking a turn for the worse! I always glue up on sawhorses, and I rarely use cauls. This keeps setup simple. Space the sawhorses so that the boards lay flat on their own, sight them to be sure there is no twist, and set the edges up to glue. I never use biscuits or dowels. They do not add strength, and I believe that they actually introduce an anomaly into an otherwise perfect situation. A single bead of glue on each edge. What to spread it with? Luckily, mother nature has given you the perfect glue spreader-your index finger! Spread the glue with a light touch to avoid pushing it over the edge, then take another pass to spread it out. Then, take a final pass with fairly strong pressure to even out AND remove any excess glue, which you will wipe on the rag you remembered to have handy. This pressure is important in order to create an even and THIN coat of glue, and thus avoid having most of it drip all over the floor, the clamps, your shoes, etc…
Now, time to clamp. With boards set lightly together, I put a first clamp a few inches from one end, adjusting the edges flush and applying only moderate pressure on the clamp. I keep the clamp up off the surface of the boards so that the pipes don’t touch, and the force of the screw is centered on the thickness of the board. This works on boards up to about 1 1/8″ thick. It the screw is centered (or just below center), the boards will want to lay flat, and there will be even force on the joint, which is crucial for a good bond. Continue to add clamps every twelve inches or so. Tighten each new clamp only lightly, then touch the joint to check for flush–flex the far ends of the boards lightly to bring them flush at the clamp location. The glue has enough slip and grab to allow subtle adjustments as boards are flexed and persuaded into alignment. The trick is to fuss the clamp pressure so that as you flex the boards they will “stick” where you want them. After three or four clamps are on, go back and tighten the first few. Continue down the length of the boards.

If there is an alignment issue at the far end, use a large handscrew to pull the ends of the joints flush, and tighten the last clamp. Check that all the clamps are snug, but not crazy tight! Set a ruler across the boards to make sure they are laying flat- if not, adjust clamps up or down slightly to correct. For boards thicker than 1 1/8″, the procedure is the same, except I will alternate clamps above and below, and decrease the spacing slightly. If I have used the correct amount of glue, it will bead on the bottom of the boards but not drip.
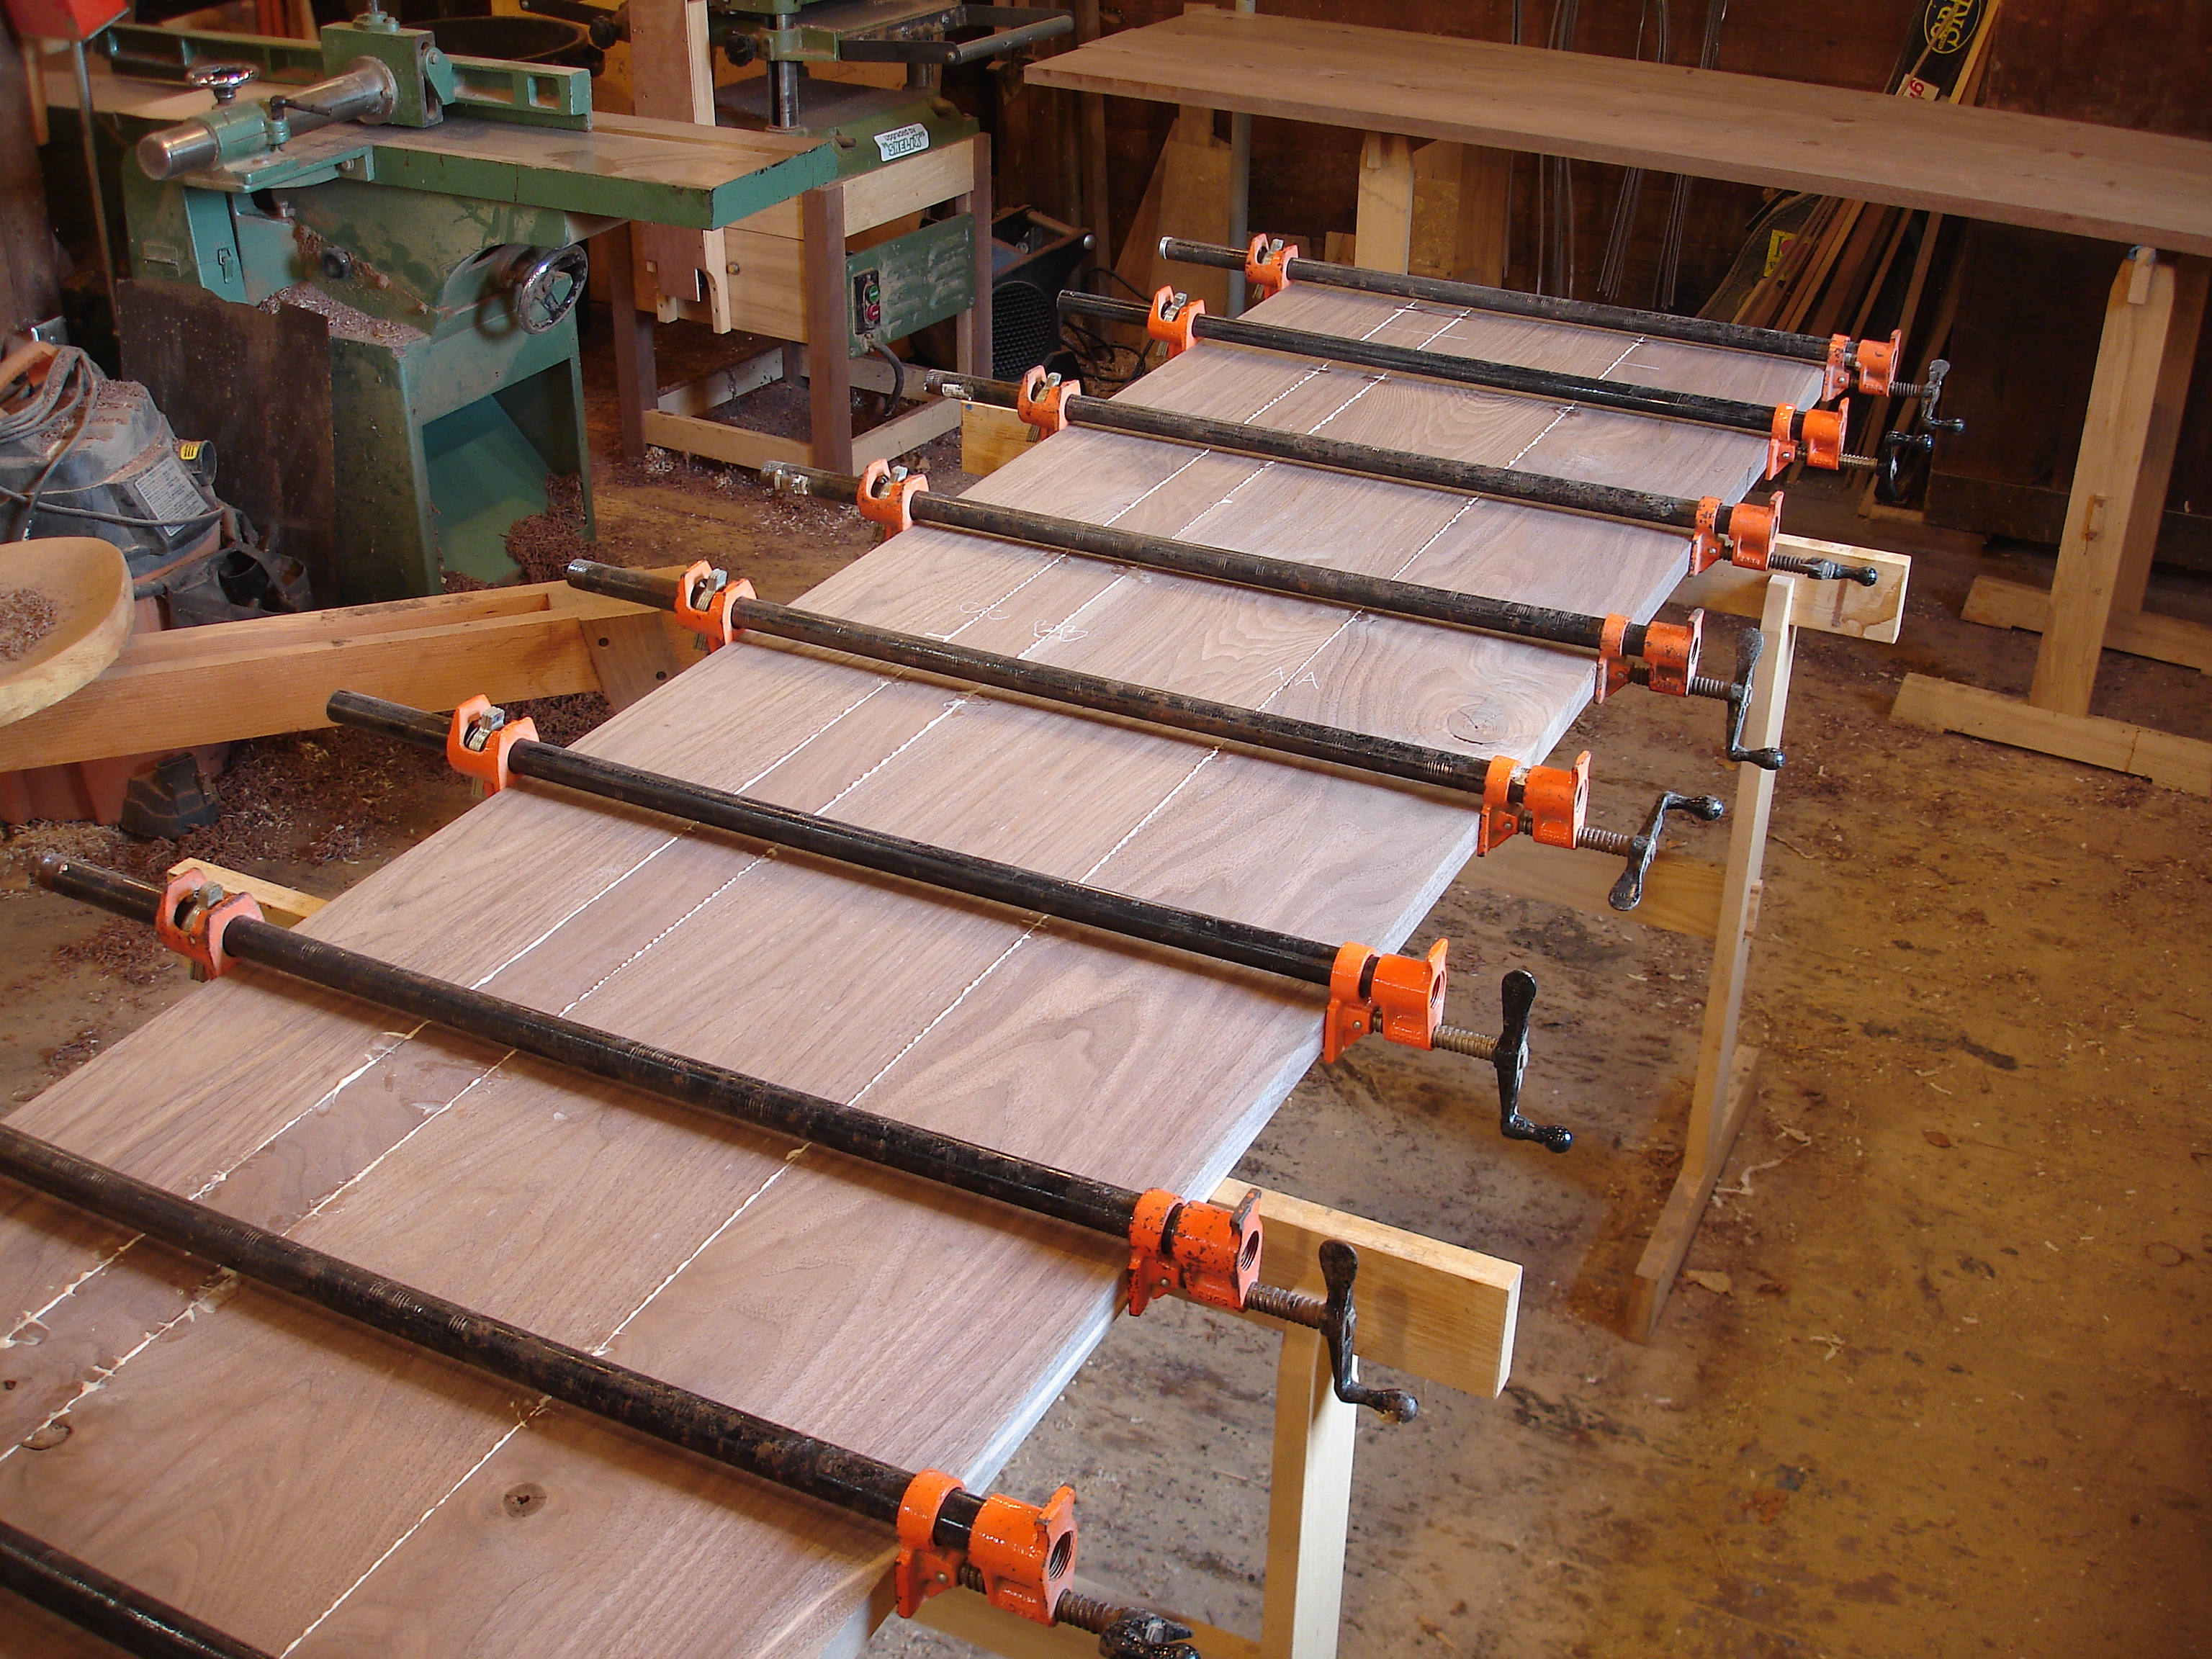
If it’s 5 o’clock, I’ll head to fridge now and crack open a beer. Don’t touch that glue! Wiping the glue with a wet rag will only serve to dilute it and force it into pores of the wood-not helpful. After about one hour, the clamps can come off, and when the beaded glue is good and firm, a cabinet scraper will take it off cleanly with little effort. That’s about it-with a bit of practice, perfect glue joints and flat panels can be achieved with predictability and confidence. Go ahead and build that table top!